Learn how to paint walls like a pro: Tips for a flawless finish

Paint walls is one of the most affordable and impactful ways to transform a room, but it requires proper preparation and execution to achieve professional results.
Whether you’re refreshing your home’s interior or adding a pop of color to a specific room, understanding the steps to paint walls ensures a flawless finish.
This guide walks you through everything you need, from gathering the right tools to following the correct process, including tips to avoid common mistakes.
Ready to learn how to paint a wall with confidence? Let’s get started!
What tools do you need to paint walls?
Before you begin, having the right tools is essential for a smooth and efficient painting experience. Here’s a list of must-haves:
- Paint and Primer: Choose high-quality paint and primer suitable for your walls. Many brands now offer paint-and-primer-in-one options for convenience.
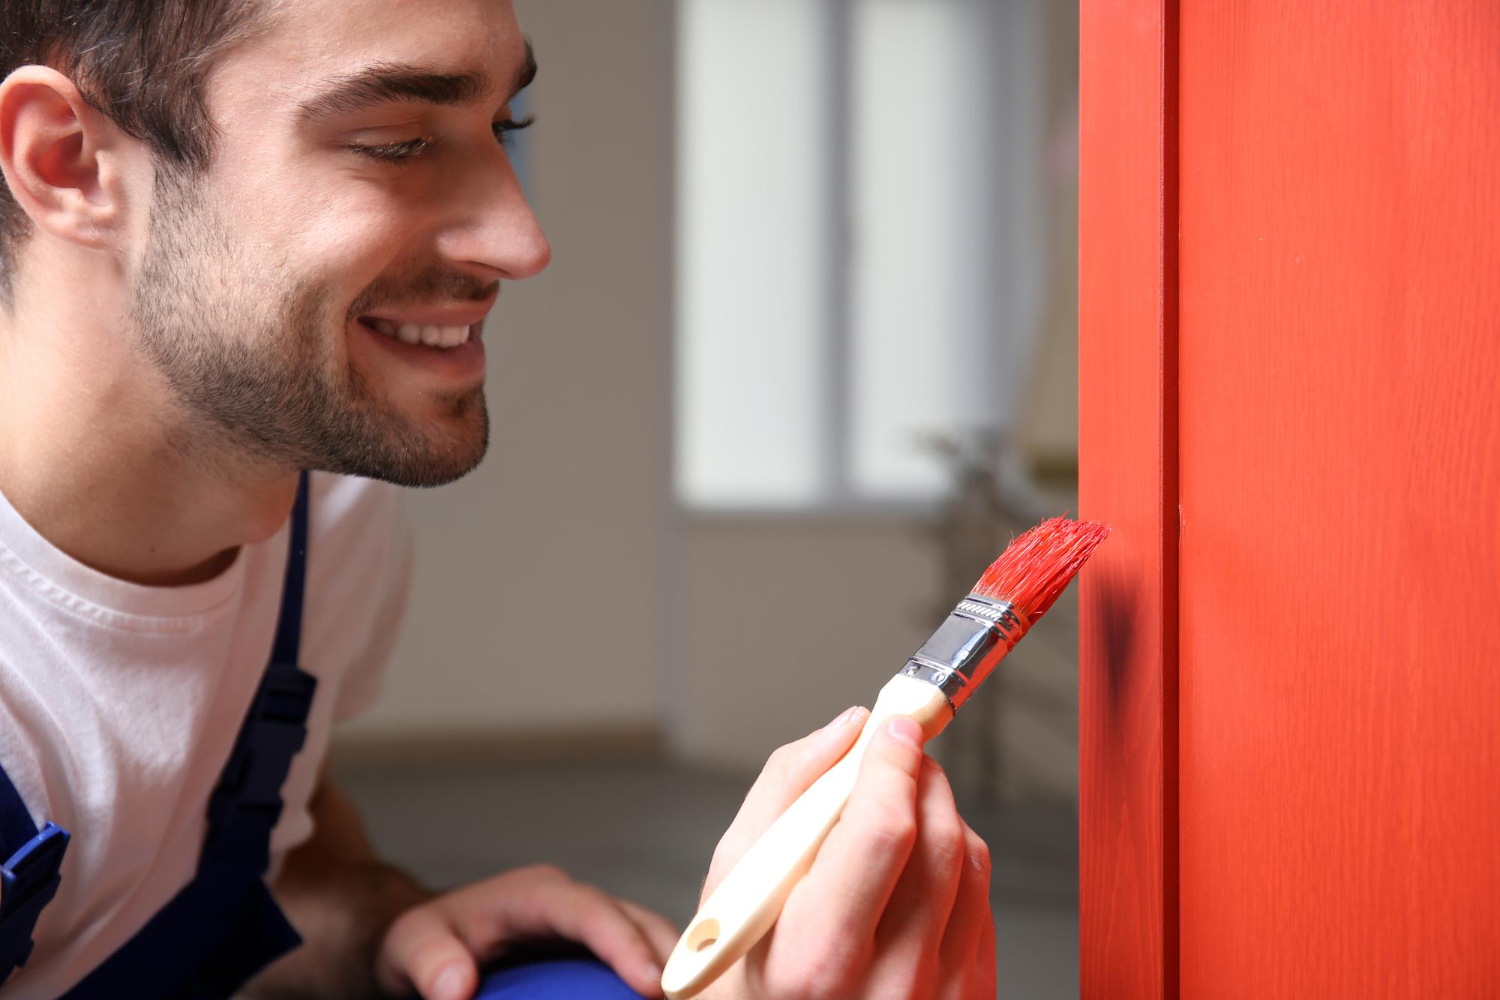
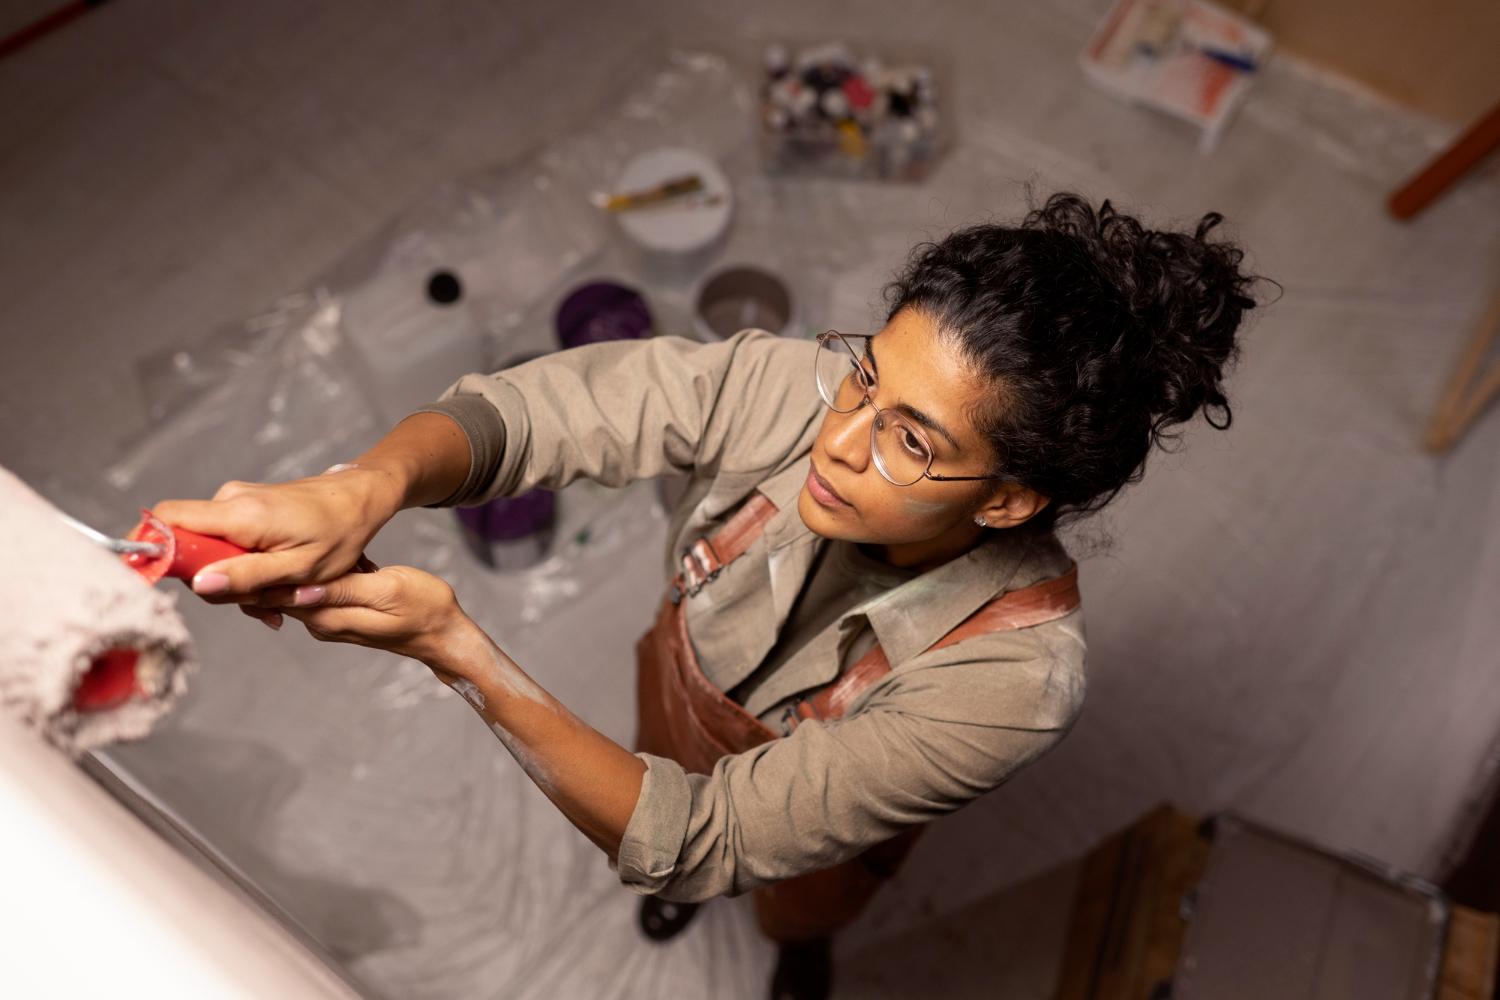
- Rollers and Brushes: Rollers are ideal for covering large surfaces, while brushes are better for edges and corners.
- Painter’s Tape: Ensures clean lines and prevents paint from bleeding onto unwanted areas.
- Drop Cloths or Plastic Sheets: Protect floors, furniture, and other surfaces from paint splatters.
- Sandpaper or Spackle: Used to smooth imperfections and fill holes before painting.
- Paint Tray: A paint tray helps distribute paint evenly on the roller.
- Ladder or Step Stool: Essential for reaching higher areas like ceilings.
- Cleaning Supplies: Have a damp cloth, bucket of water, and sponge on hand to clean up spills or mistakes.
Having these tools ready ensures a hassle-free process and helps you avoid unnecessary delays.
Paint walls the right way
Achieving a smooth, professional-looking finish involves more than simply applying paint to a surface. Follow these essential steps to paint walls and ensure your project is a success.
Choose the desired color
Selecting the perfect color is the foundation of any painting project. Consider the mood you want to create in the room and how the color will interact with natural and artificial light.
Neutral tones are timeless, while bold colors can add personality and drama.
To make an informed decision, test paint samples on the wall. Observe how the shades look at different times of the day to avoid surprises once the job is complete.
Prepare the room for painting
A well-prepared room is key to an efficient and mess-free painting process. Start by removing as much furniture as possible from the room.
For larger items that can’t be moved, place them in the center of the room and cover them with drop cloths or plastic sheets.
Additionally, remove wall decor, switch plates, and outlet covers. Ensuring the room is clutter-free allows you to focus on painting without distractions.
Protect furniture and surfaces
Use drop cloths or plastic sheets to cover floors, furniture, and any surfaces exposed to paint splatters.
Apply painter’s tape along baseboards, window frames, and door trims to create clean, sharp lines.
Taking the time to protect your space ensures you won’t spend hours cleaning up paint splatters after finishing.
Prepare the walls for painting
Wall preparation is one of the most important steps in painting walls. Inspect the walls for cracks, holes, or uneven textures.
Use spackle or filler to repair imperfections, and sand the area smooth once dry.
If the walls are dirty, clean them with a damp cloth or mild soap solution to remove dust, grease, or stains that could affect paint adhesion.
In some cases, applying a coat of primer will help the paint adhere better and provide a uniform finish.
Start by painting the ceiling
Always start with the ceiling before moving on to the walls. Use a roller with an extension pole for larger ceiling surfaces, and a brush for edges and corners.
This method prevents drips or smudges from ruining your freshly painted walls.
Once the ceiling is painted and dry, you can focus on the walls without worrying about overlapping paint.
Paint the walls
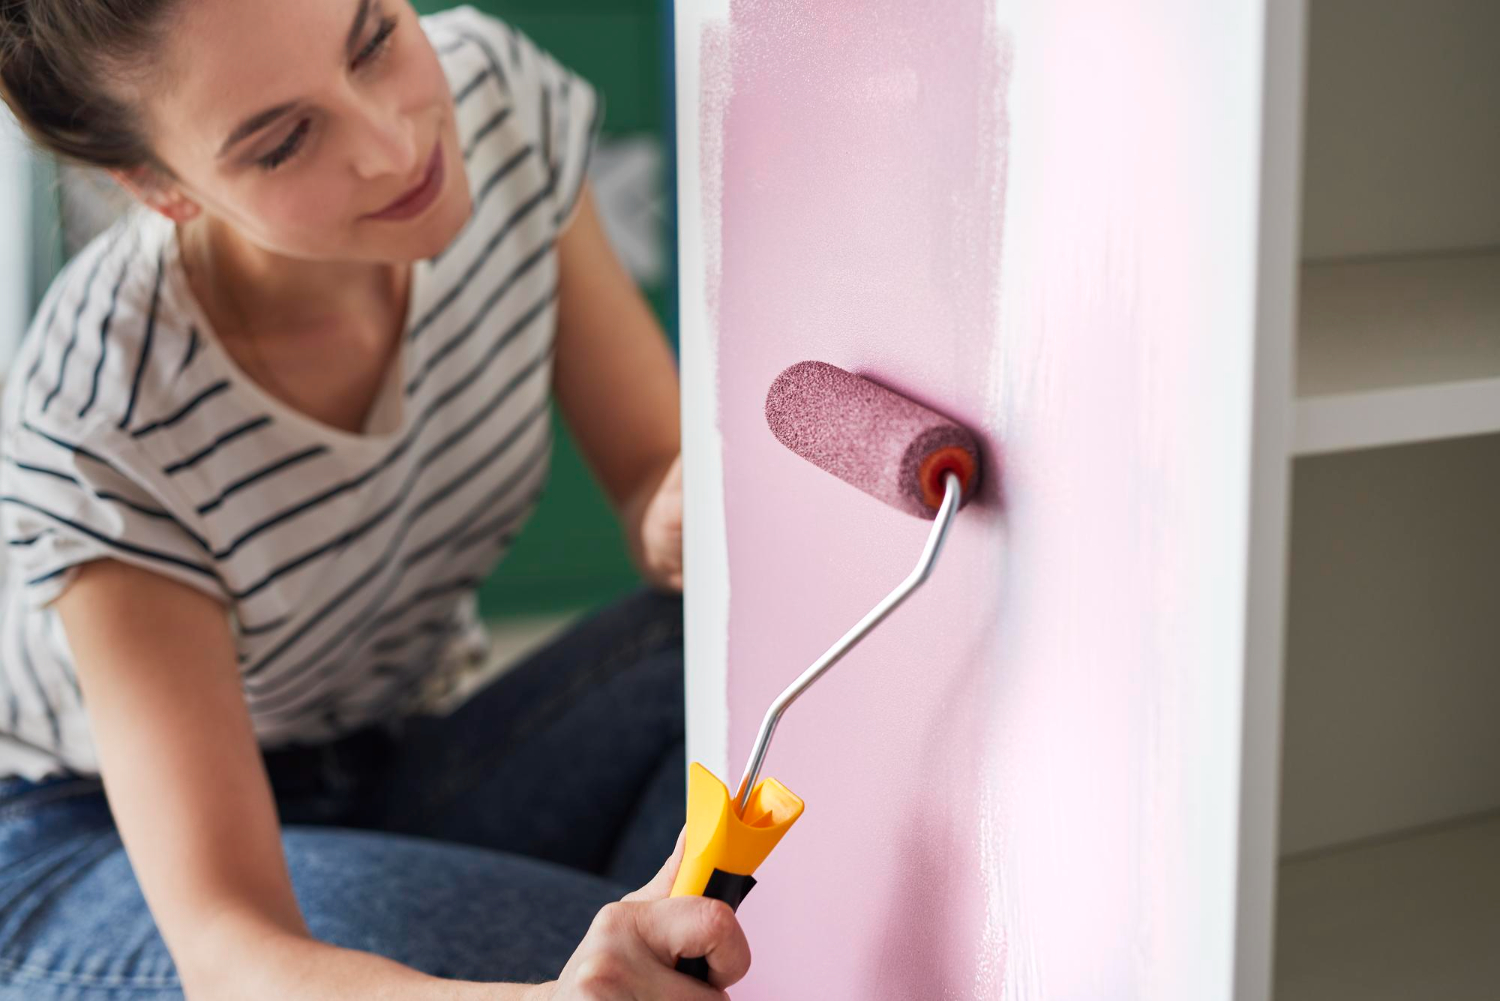
Use a roller to cover larger sections of the walls. Start at the top and work your way down in even strokes to avoid streaks. For edges and tight corners, switch to a smaller brush for better precision.
Apply the paint in two coats for the best results, allowing each coat to dry before applying the next. This ensures full coverage and vibrant color.
Finish with the details and edges
After painting the walls, carefully remove the painter’s tape before the paint dries completely to avoid peeling or uneven lines.
Use a smaller brush for touch-ups or to clean up any missed spots. Pay attention to baseboards, window frames, and door trims, ensuring they’re clean and free of smudges.
Wait for the paint to dry
Allow enough time for the paint to dry between coats and after completing the project. Drying times vary depending on the type of paint and environmental conditions, but most paints require at least 24 hours to cure fully.
Avoid moving furniture or hanging decorations on the wall until the paint is completely dry to prevent smudges or damage.
Put everything back in place
Once the paint is dry, remove the drop cloths and plastic sheets, and carefully return furniture and decorations to their original positions.
Take a moment to admire your work and enjoy the refreshed space!
Painting walls is an art that requires preparation, patience, and attention to detail. By following these steps to paint walls, you can achieve professional-quality results, save money, and add a personal touch to your home.
Whether you’re a beginner painter or an experienced decorator, understanding how to paint a wall ensures your project is efficient and rewarding.
For more tips and ideas to elevate your home projects, keep exploring our blog for expert advice. Happy painting!
Looking for a suggestion? Check out our guide on the top activities to enjoy in Cape Town this January.